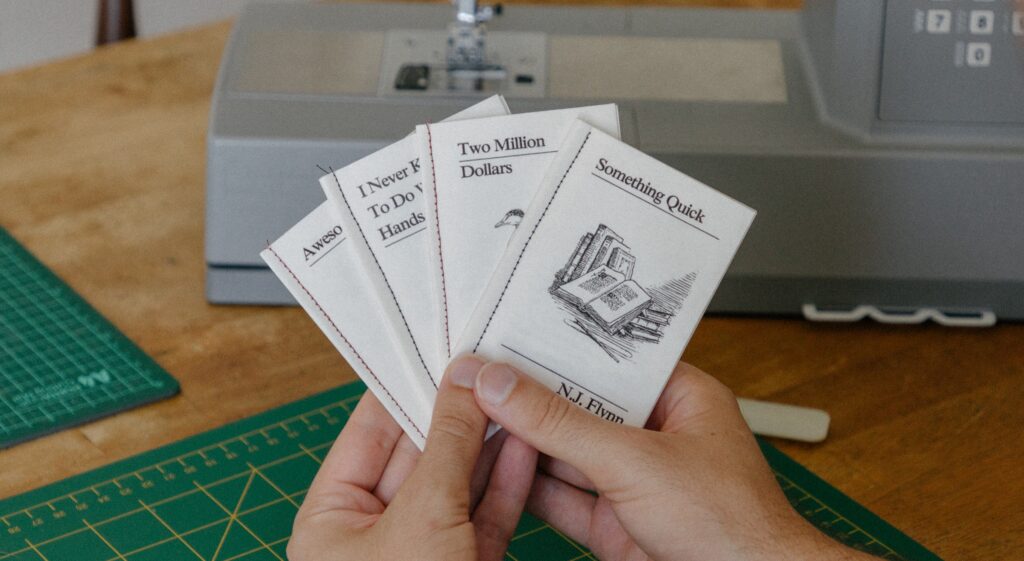
I love writing short stories under 500 words, but I never knew how to release them or what to do with them.
That’s until I started making mini-zines.
Mini-zines are a great way to share your short stories. Not only do they look and feel great, but they can be made out of a single sheet of paper.
And when I shared a reel of my zine-making process on Instagram, it took off, racking up over 2 million views.
In this tutorial, I’ll show you how to turn your short stories into mini-zines too.
Table of Contents
What You Will Need - Tools & Materials
To make your own mini zines, you’ll need a few basic tools and materials. I’ve included some recommendations that you can buy on Amazon to help you find the best options for your project.
Disclosure: This post contains affiliate links. If you purchase through these links, I may earn a small commission.
- Formatting Software – Adobe InDesign is ideal, but Word or Canva can work too.
- A4 Paper – 90gsm White Parchment Paper or Copy Paper
- Printer – Canon Pixma TS9565
- Bone Folder – Precision Folding Tool
- Craft Knife – Fiskars Craft Knife
- Sewing Machine – Singer HD6705C Heavy Duty Digital Sewing Machine
How to Format Your Short Story
The first thing you need to do is format your story into 8 mini pages. I definitely recommend using Adobe InDesign for this step because it allows for very precise formatting. If you’re using Word or Canva, the process will be more manual, but it’s still doable.
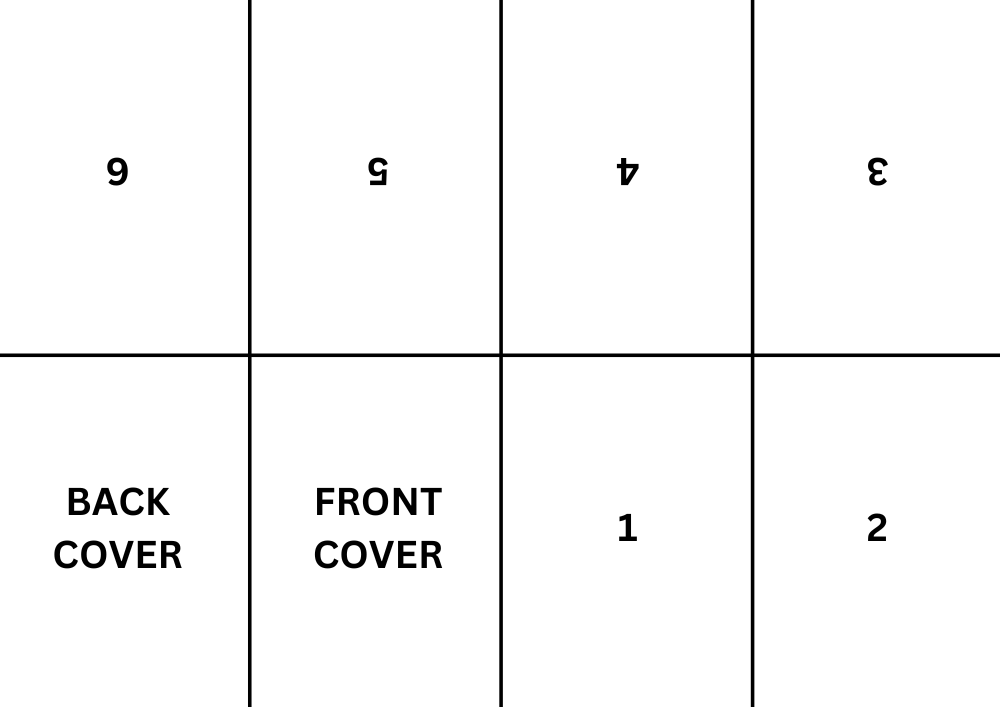
The image below shows where each page will sit in your A4 document.
As you can see, the top row of pages are all upside down. This is super important. If you don’t flip these pages, you’re going to end up with a wonky zine!
Now that you know how your A4 document you should look, you need to do the following:
- Open an A4 document in your chosen software.
- Arrange your story text into text boxes across the 6 mini pages.
- Add titles, headings, and page numbers.
- Design your front and back covers with simple graphics or text.
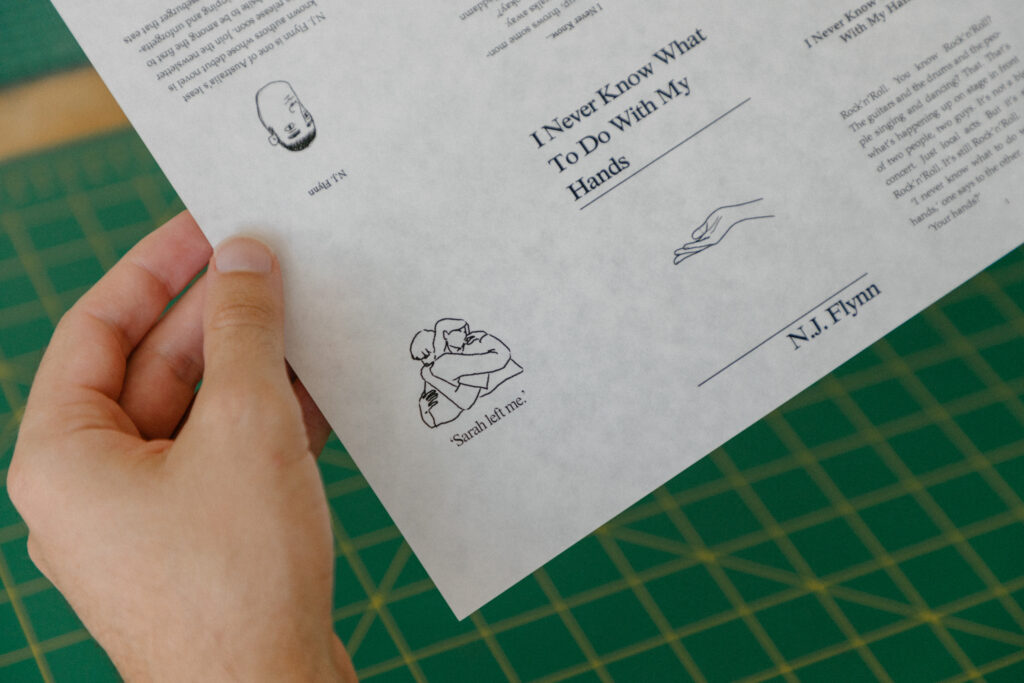
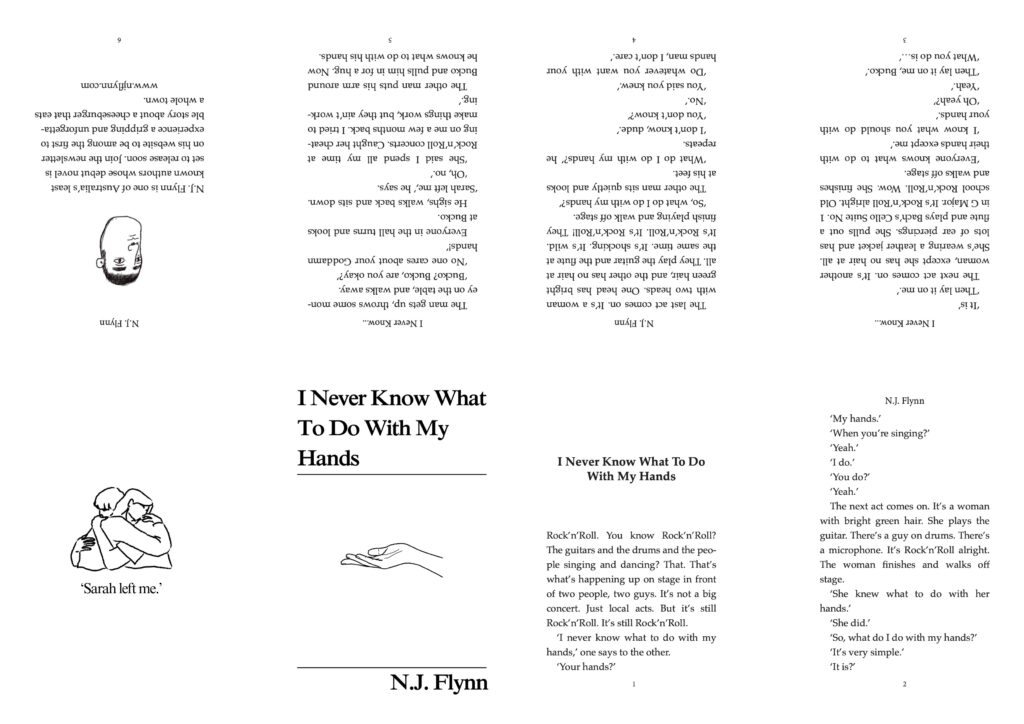
Once you have done that, it should look something like this:
If you get stuck...
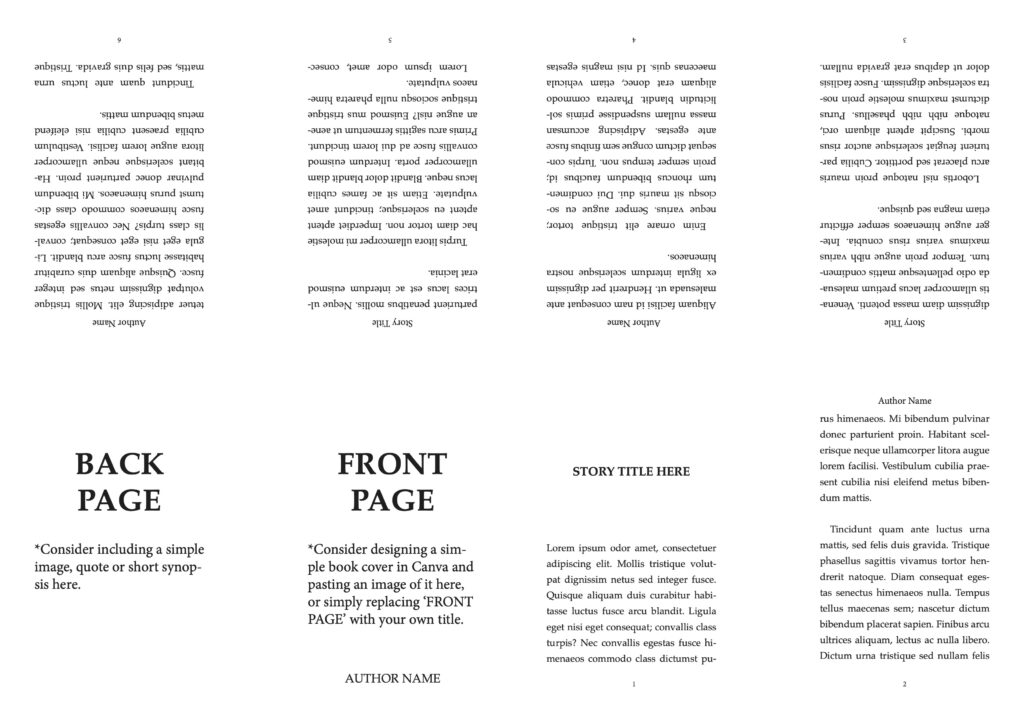
Naturally, formatting your work like this can be difficult, time-consuming and really frustrating! But I’ve created an Adobe InDesign Mini-Zine Template that you can buy, download and populate with your story to save all that hassle.
Choosing Paper
You can use standard white copy paper, but for a more polished feel, I recommend 90gsm parchment paper. I buy mine from my local stationery store but you can buy it online too.

Printer Settings
When printing, just ensure that you set the scale to 100%.
Some printers want to add a little space between the content and the edge of the page, but this can throw your formatting off and give your pages a little more space than needed.
I use a Canon TS9565 for my zines, but just about any printer will do.
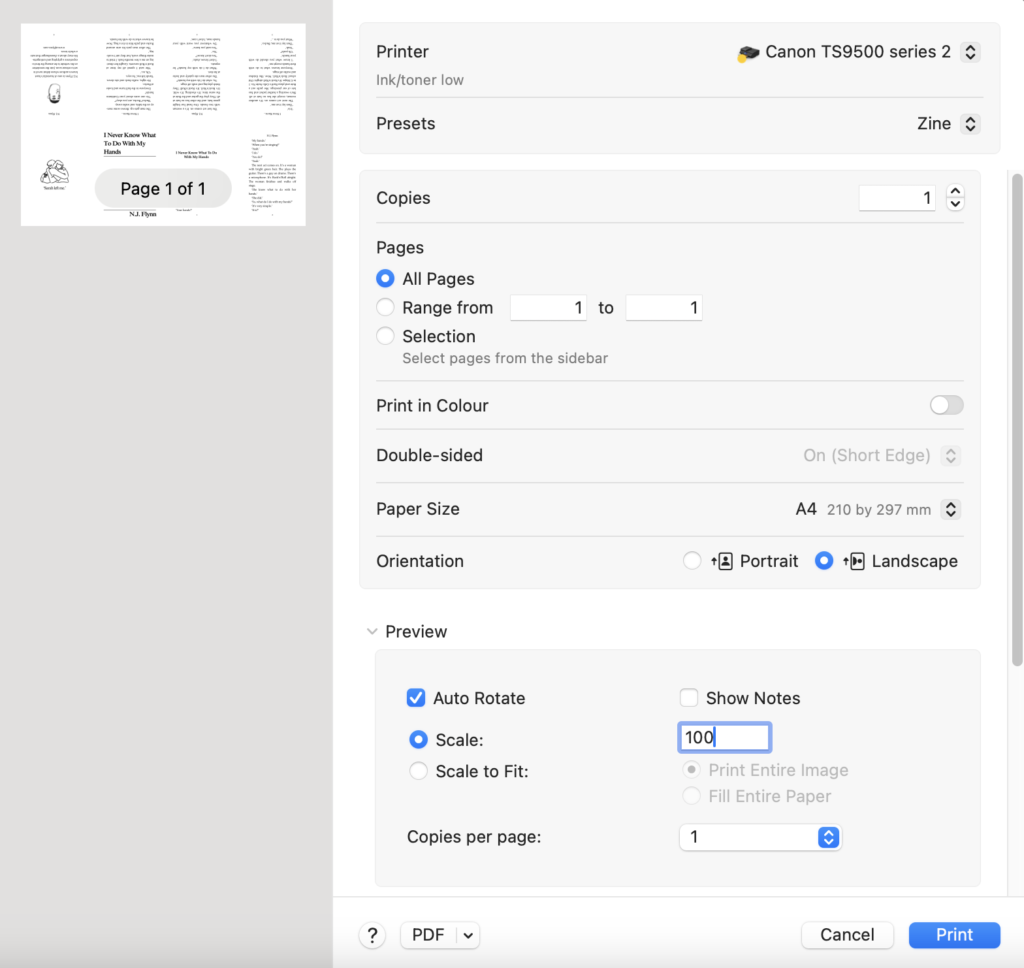
Never forget to print a test copy with some cheap paper! I can’t tell you how many times I have misspelt something or formatted something incorrectly, only to realise after I have stitched my zine!
Folding and Cutting
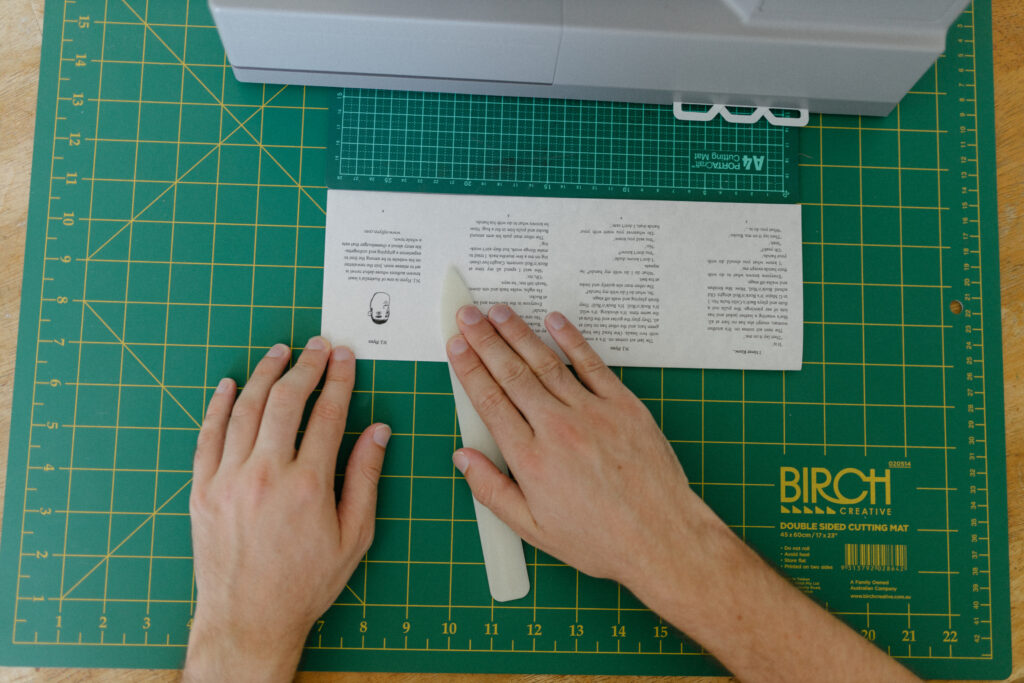
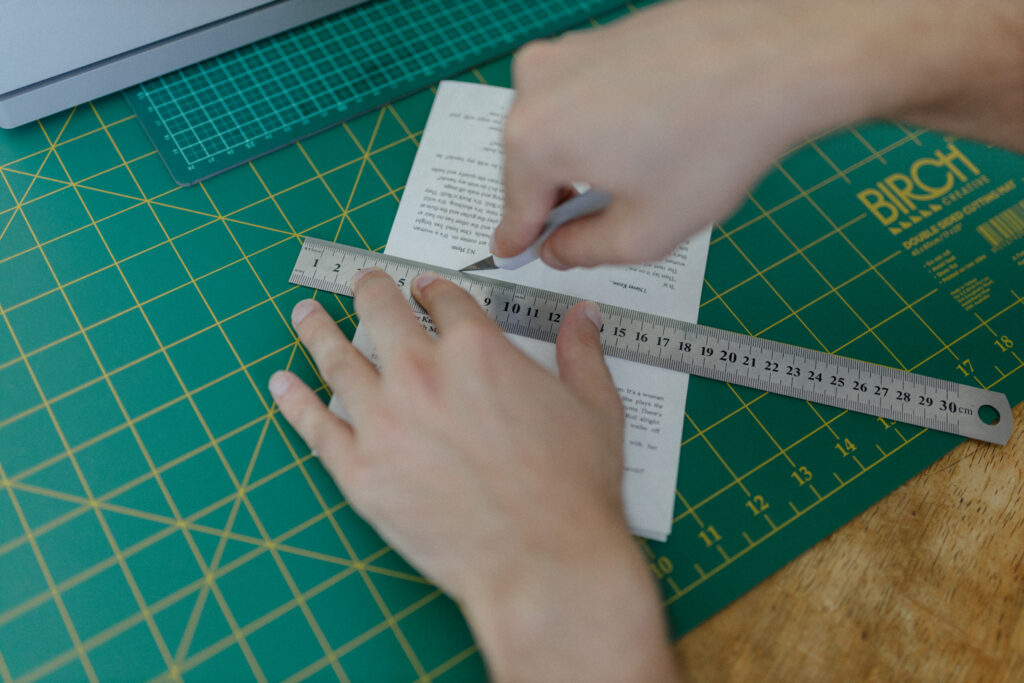
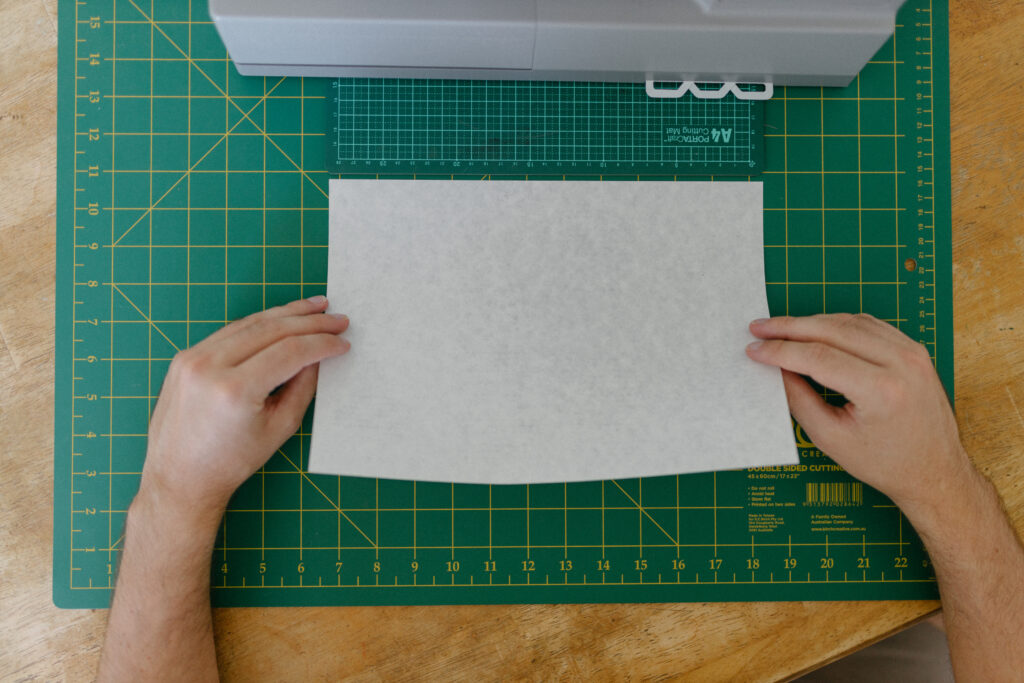
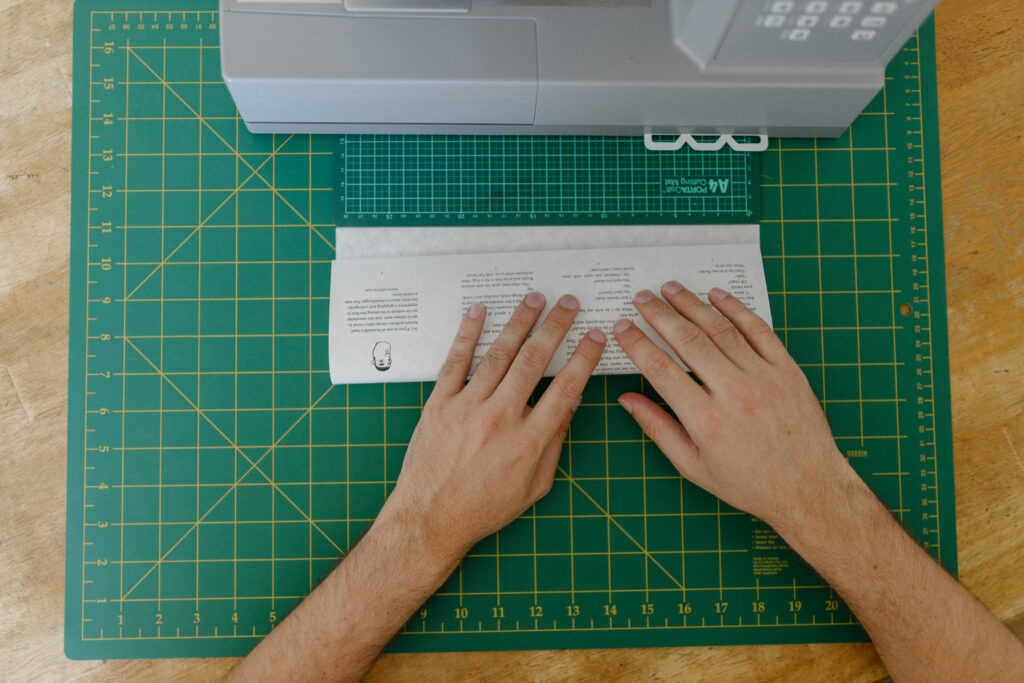
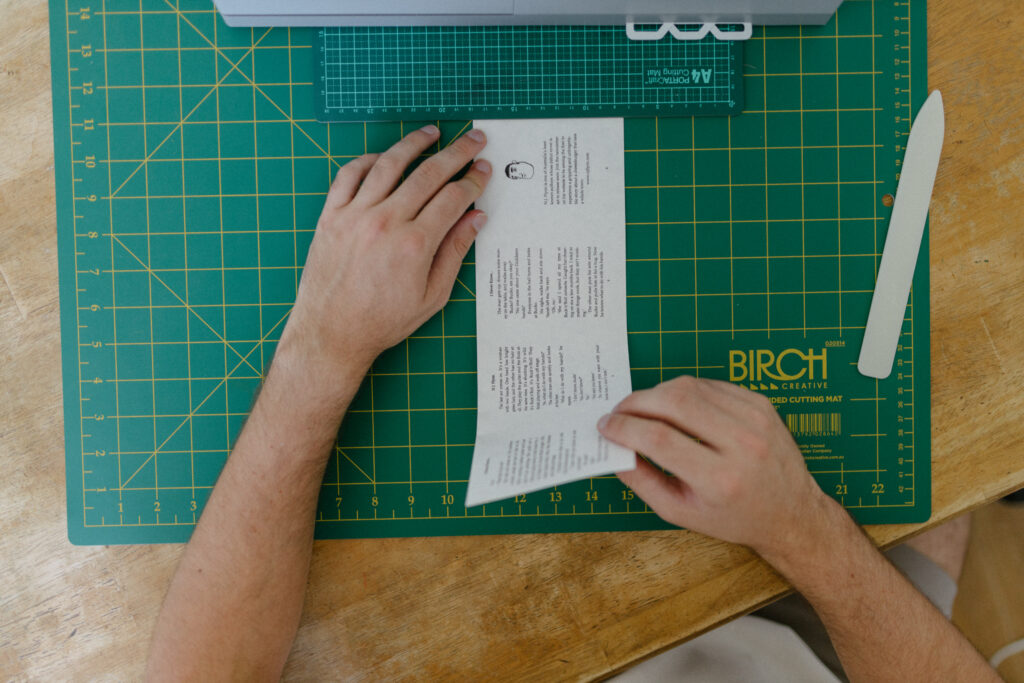
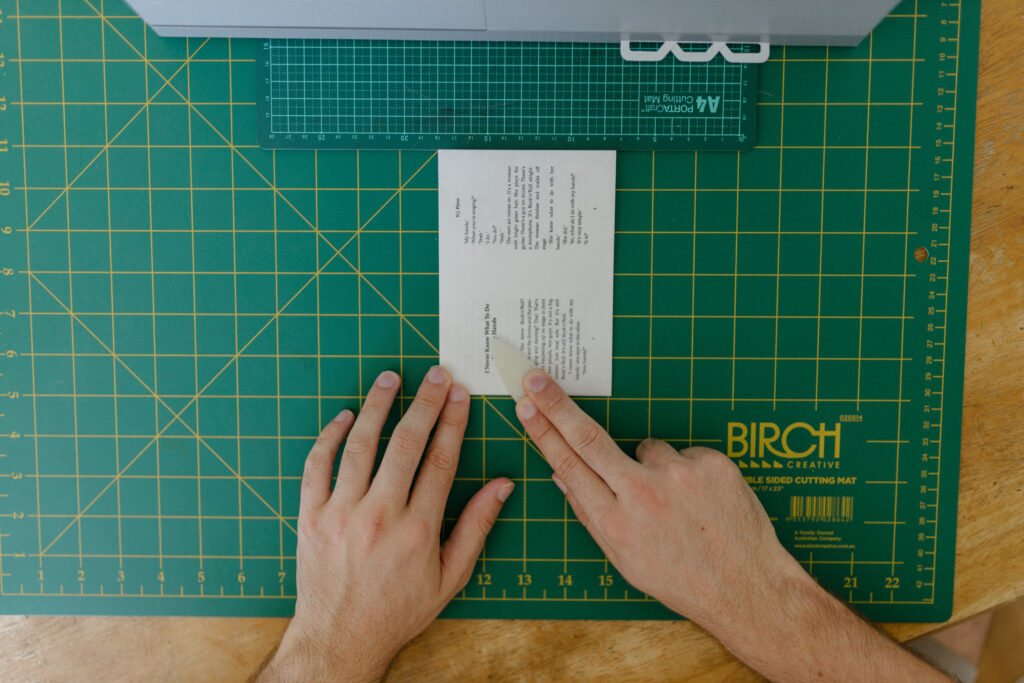
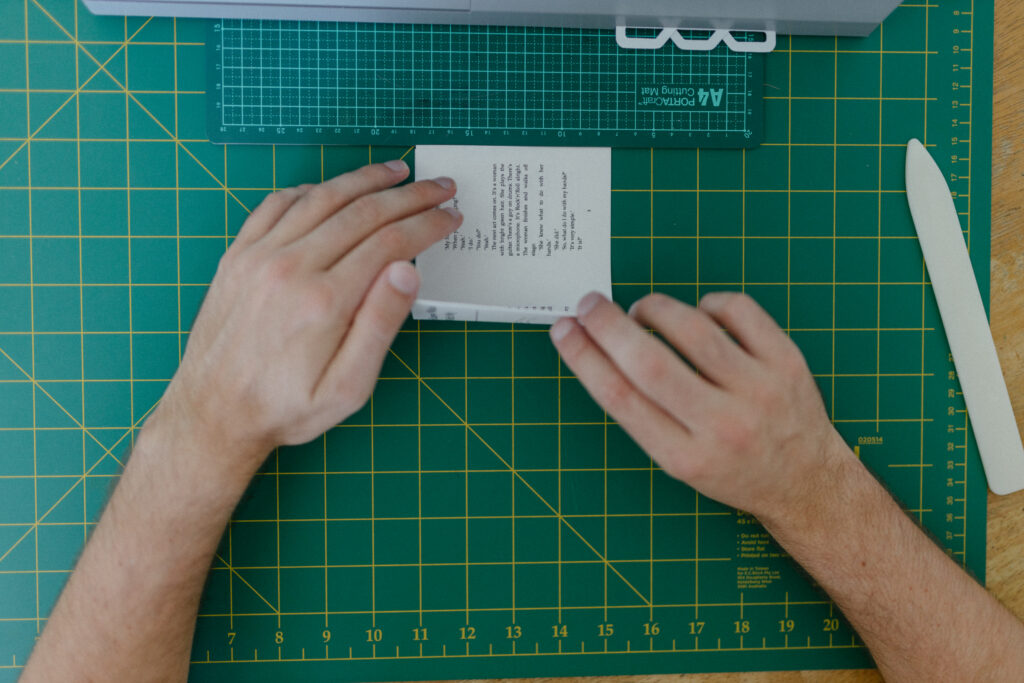
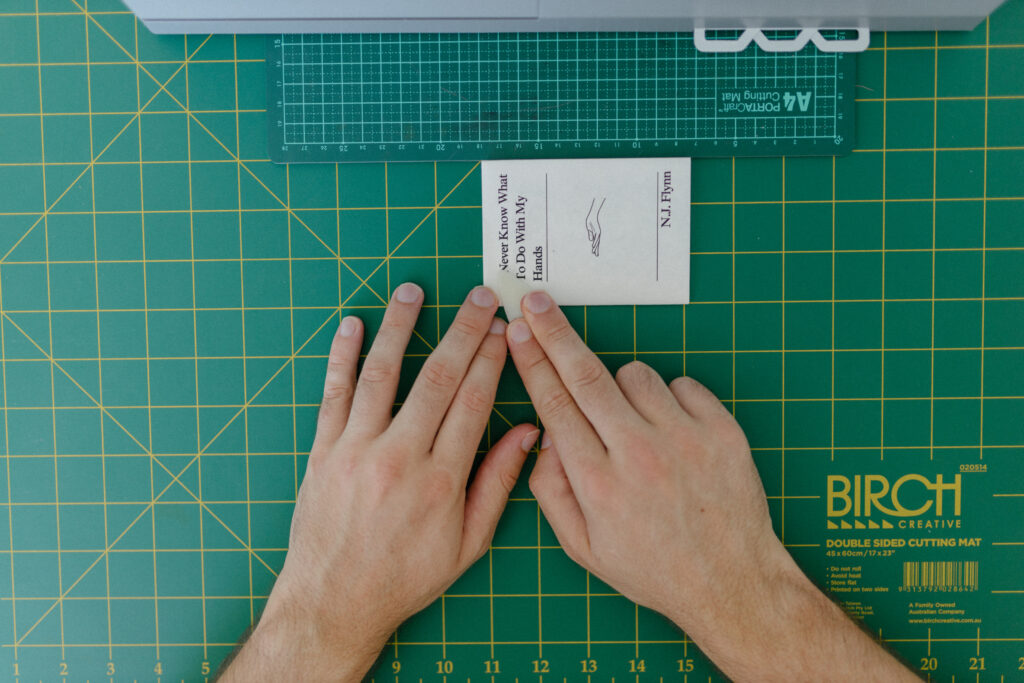
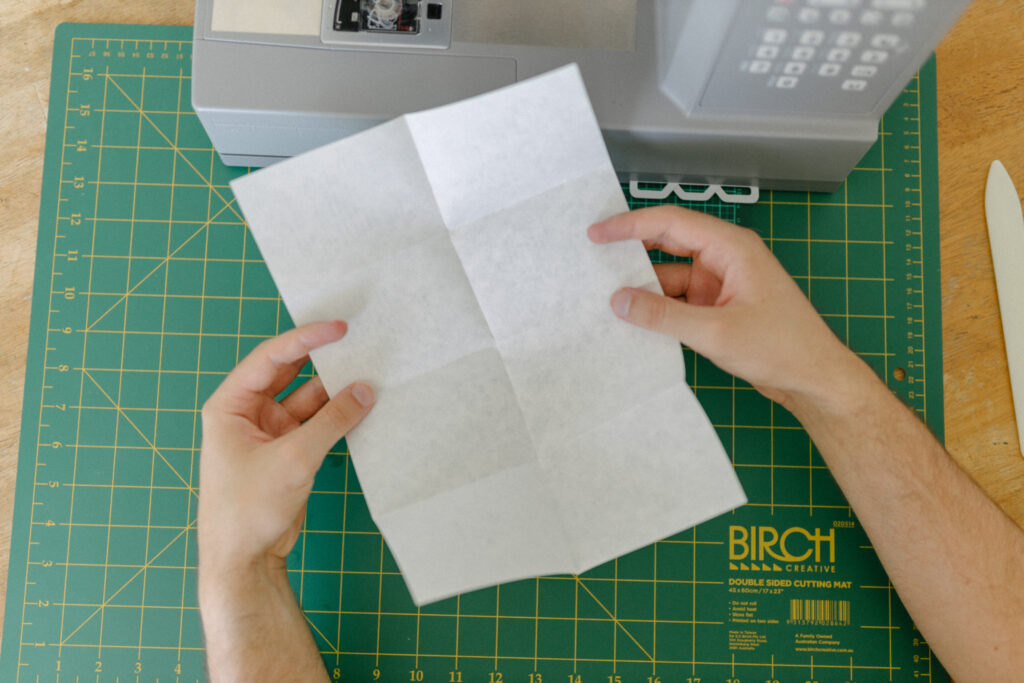
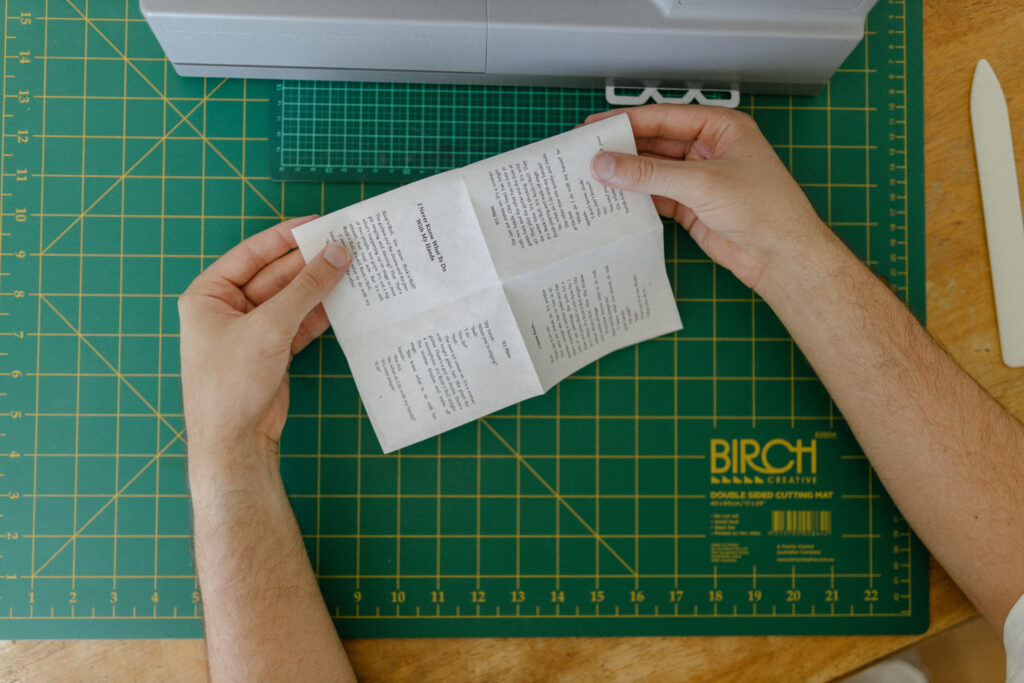
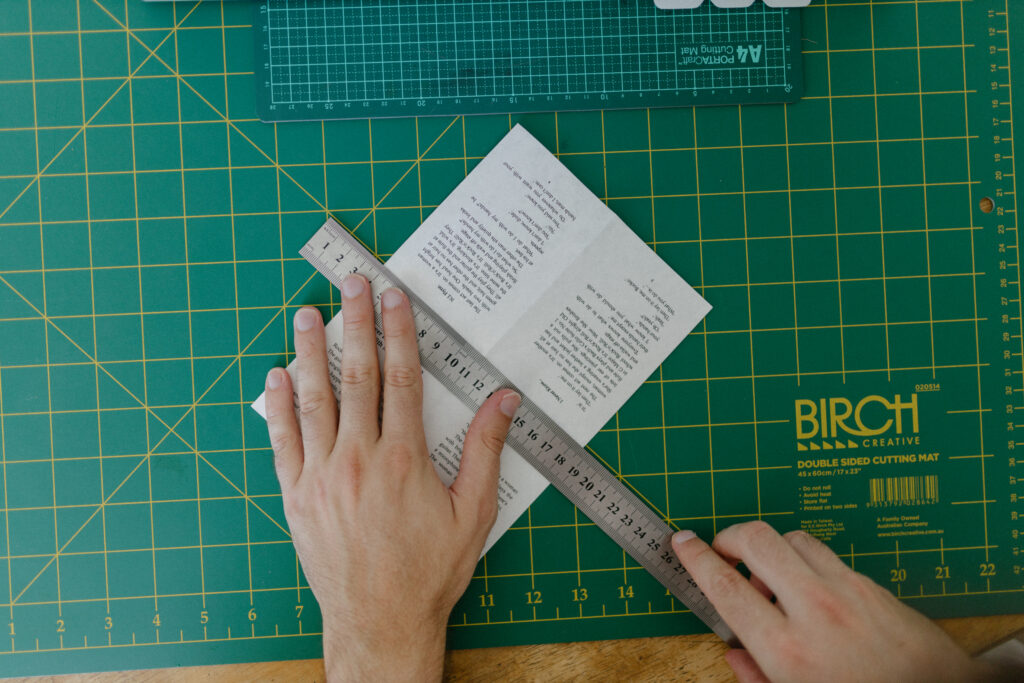
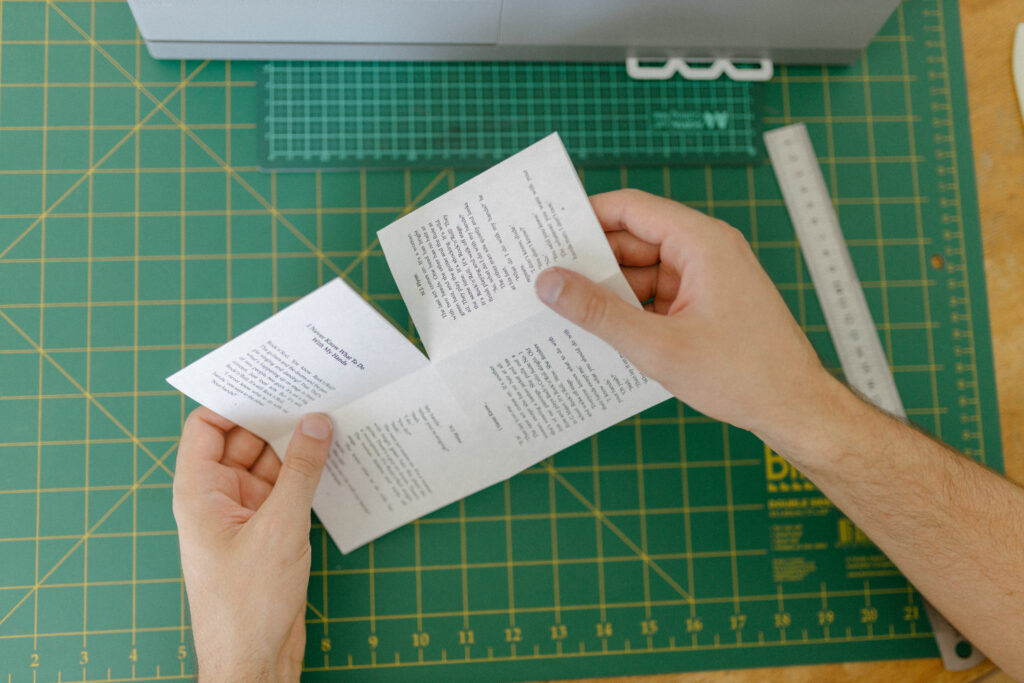
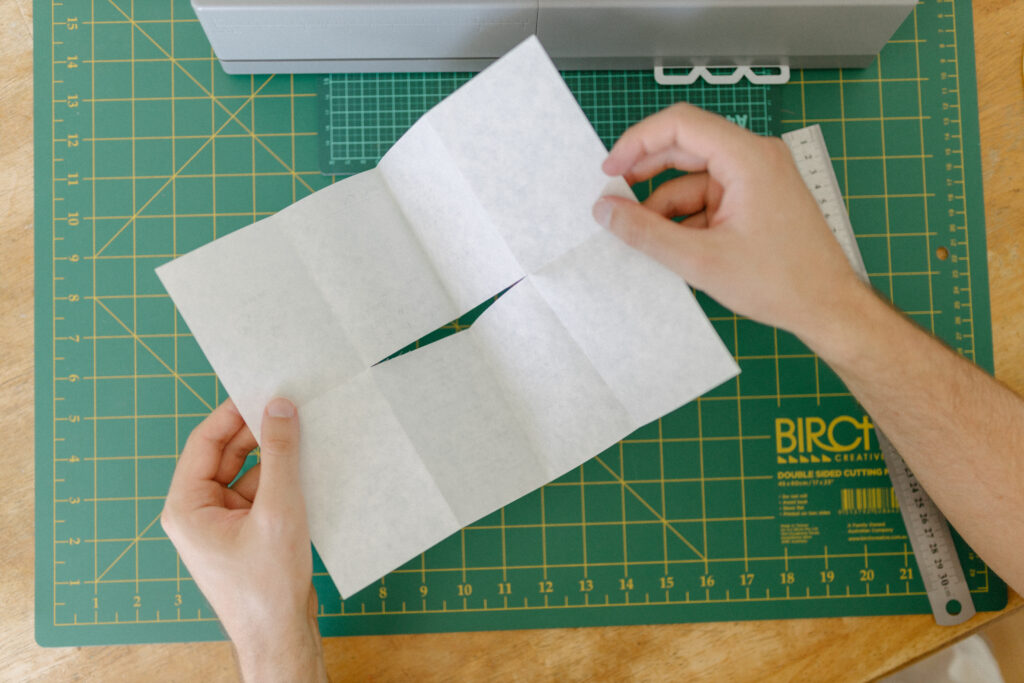
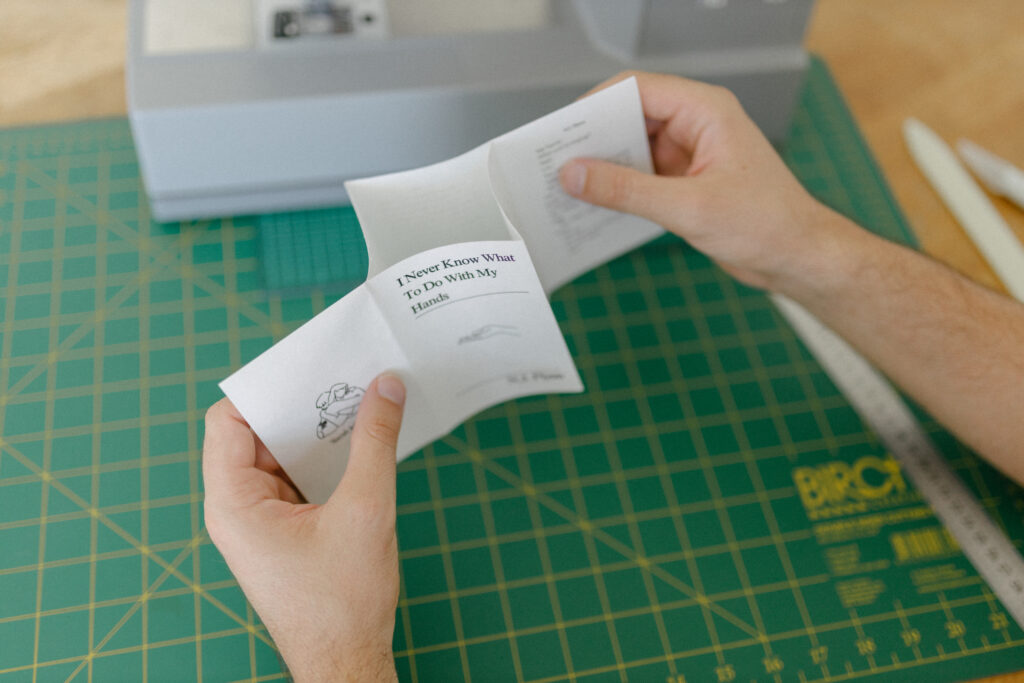
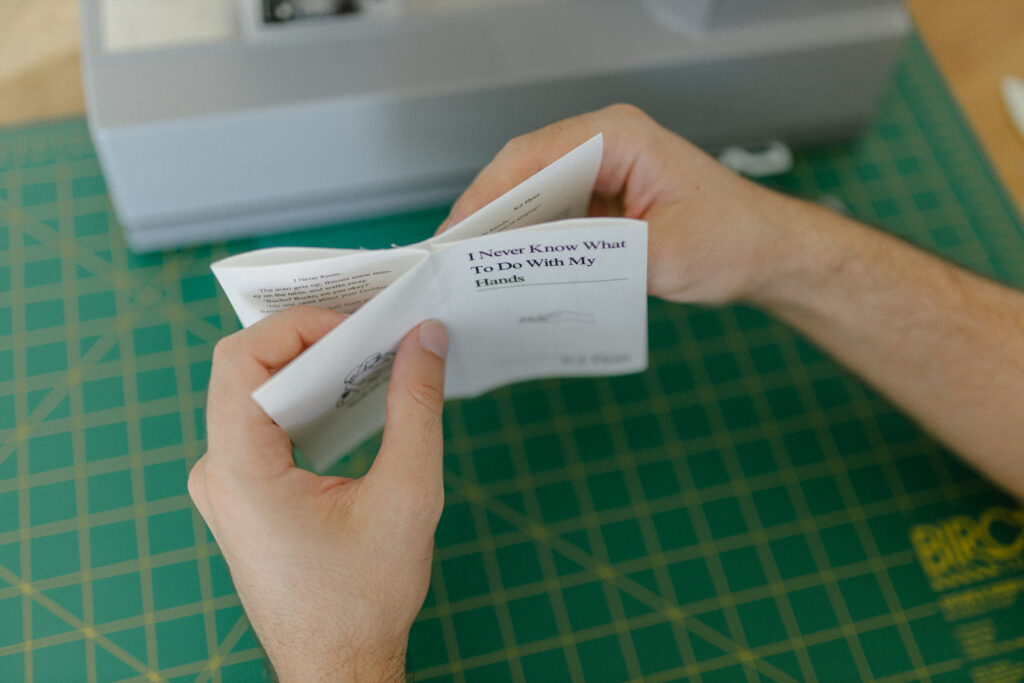
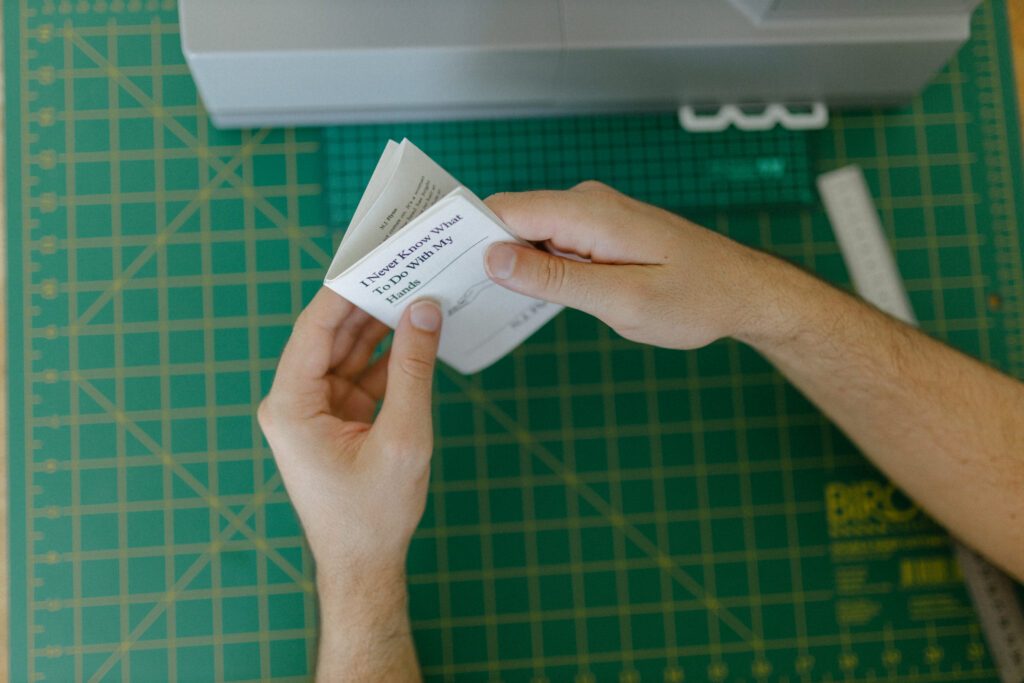
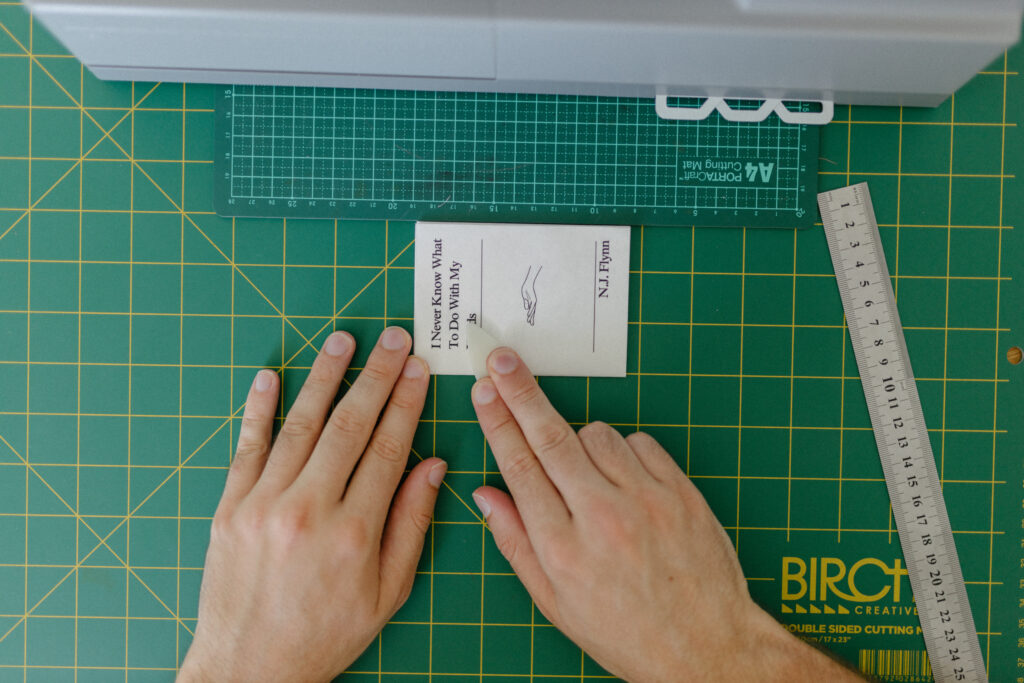
Flick through the gallery below for a step-by-step guide of how to fold, cut and fold (again) your mini-zine. Ensure that you use a bone folder for crisp edges and a craft knife for a clean cut down the centre!


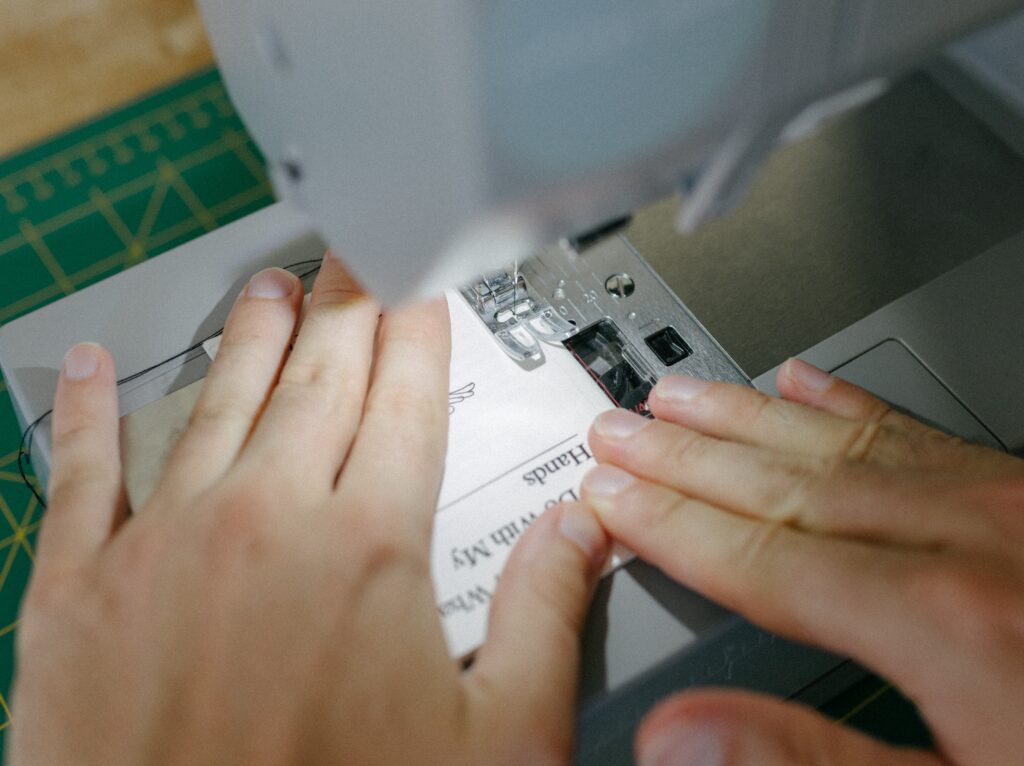
Binding (With a Sewing Machine)
For a more finished look, stitch next to the spine using a sewing machine and thread in a complementary colour.

Voila!
I personally love a stitched binding – it just looks really cool.

Have fun and good luck making your zines! Let me know you how you go in the comments, and if you’d like to keep up to date with my latest blogs, sign up to my Substack newsletter below.
2 Responses
pk9xyx
lr55d9